


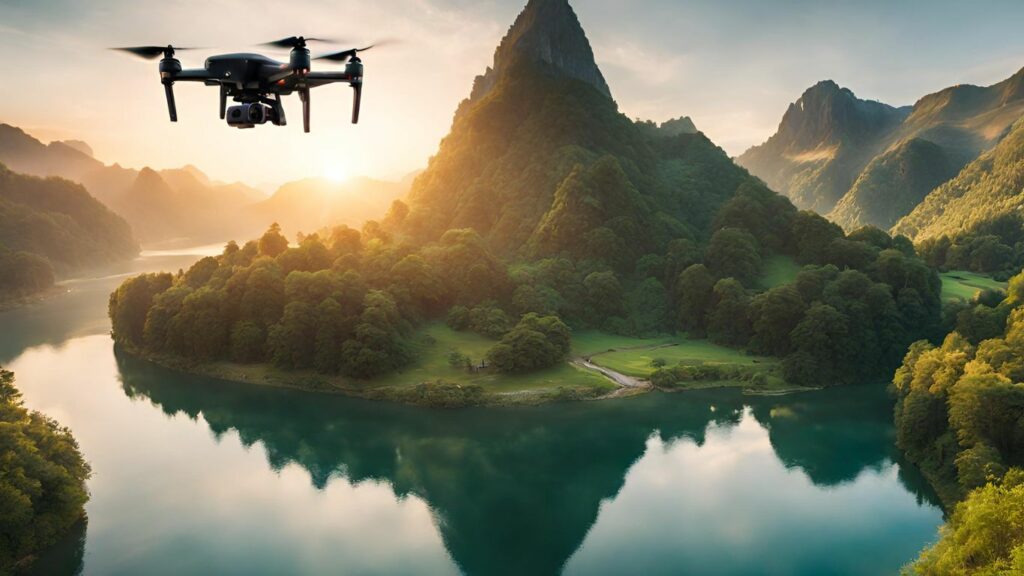
As drone technology progresses, an increasing number of photographers are embracing the concept of aerial photography to capture striking landscape pictures from unique viewpoints. Holy Stone drones are becoming a favored selection for photographers who want to enhance their skills. With superior features and excellent image quality, Holy Stone drones provide many chances to take incredible images.

In this conversation, we’ll discuss some critical advice and methods for maximizing your drone landscape photography with Holy Stone drones. We’ll discuss the key elements that can improve your aerial photography skills from planning your photos to understanding camera settings.
So, whether you’re a seasoned drone photographer or a beginner, stay with us as we reveal the secrets to taking fantastic drone landscape photos with Holy Stone drones.
Key Takeaways: Holy Stone Drone Landscape Photography Tips
Mastering the art of drone landscape photography with your Holy Stone Drone is a process that requires patience, practice, and precision. To achieve stunning aerial photos, it’s essential to implement the tips provided here, such as planning your shots, adjusting camera settings, shooting in raw format, and being aware of safety and legal guidelines.
Additionally, don’t underestimate the importance of editing your images to enhance their visual impact and sharing your work to inspire others and showcase your capabilities.
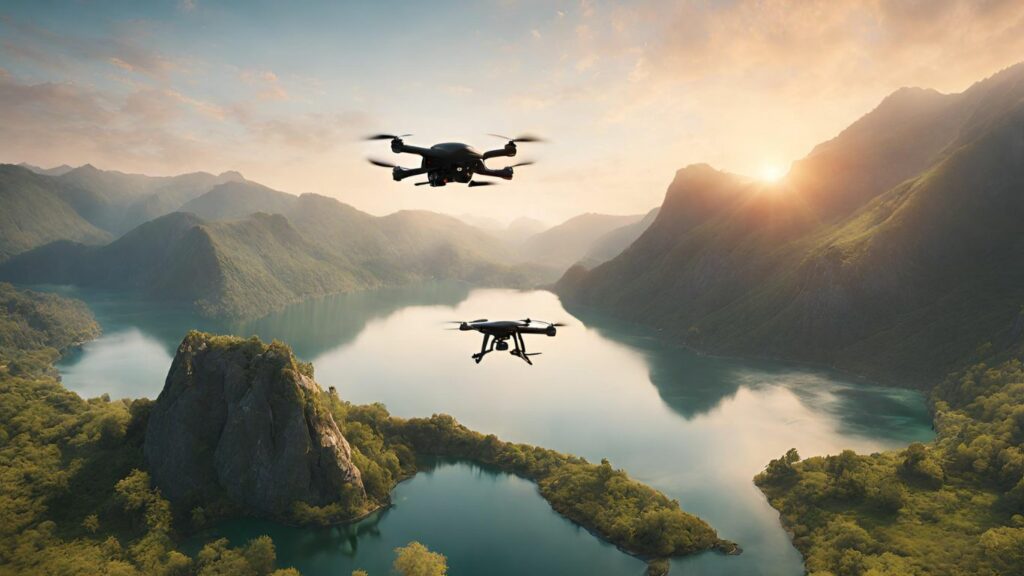
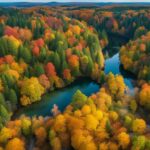
As technology evolves, drone photography has become a noteworthy trend. It’s not just about snapping a photo; it’s about capturing a viewpoint that’s unattainable to the human eye. This unique perspective can add a novel twist to familiar landscapes, making your photos distinguished.
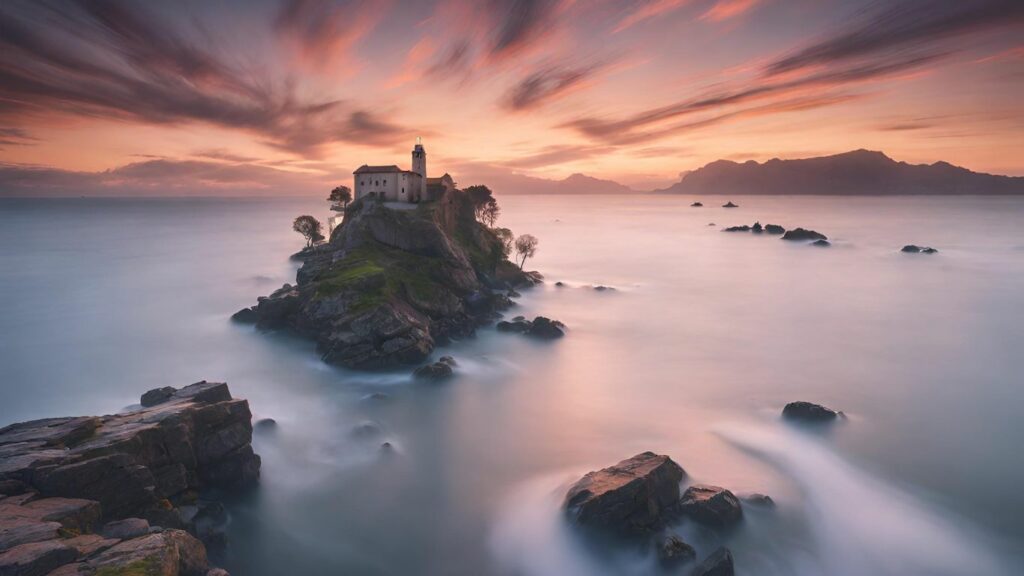
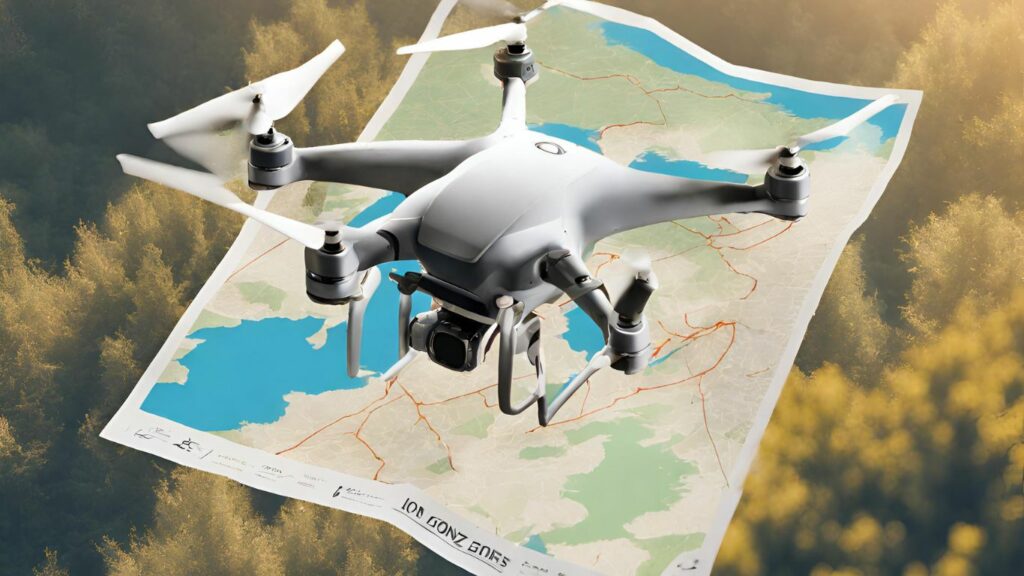
Planning your shots is a significant step in drone photography. Having a clear vision of what you want your final image to look like can guide your drone’s movements and camera settings. For example, if you’re striving for a tranquil sunrise shot, it’s important to be in the right location at the right time with the appropriate settings.
Shooting in raw format is another valuable tip. This technique allows you to capture every detail and color in your shot, giving you a broader scope for editing after the shoot. It’s akin to a painter having a larger color palette to work with.
Pay heed to safety and legal guidelines when operating your drone. Ensure you’re flying your drone responsibly while respecting local rules and privacy regulations. The last thing you want is for your photography session to result in legal issues or harm to others.
Editing your photos is another essential step. This process can transform a good photo into an exceptional one by adjusting the lighting, contrast, and colors to make your image truly stand out. Once you’re pleased with your final product, share it to inspire other photographers and showcase your talent.
So, gear up your Holy Stone Drone and start exploring the world from a fresh angle. As the saying goes, ‘The best photographer is the one who revels in the process of creation, not just the end result.’ Enjoy your flight!
Planning Your Shots
Taking Flight with Drone Landscape Photography
In the realm of drone landscape photography, understanding local laws and regulations is a non-negotiable first step. Using apps like Airmap, you can stay updated with local airspace rules and temporary flight restrictions, ensuring that your drone flights are both legal and safe.
After acquainting yourself with the rules of the air, the creative process can begin. Drone photography offers a new perspective on the world, transforming ordinary landscapes into extraordinary works of art. Seek out unique angles and compositions to create eye-catching images. Play around with camera heights, angles, and focal points to add a layer of depth that keeps viewers engaged.
Knowing your camera settings inside-out is another key factor in drone photography. Fine-tuning your ISO, shutter speed, and aperture settings will not only help you capture crisp, well-lit images but also extend your drone’s battery life and flight time. Moreover, using the appropriate camera mode, like manual or aperture priority, gives you greater control over your shots’ exposure and depth of field.
As a drone operator, safety and respect should be your guiding principles. Always fly your drone in open, unpopulated areas, keeping a safe distance from people, buildings, wildlife, and other aircraft. This way, you can freely explore the sky while minimizing any potential risks.
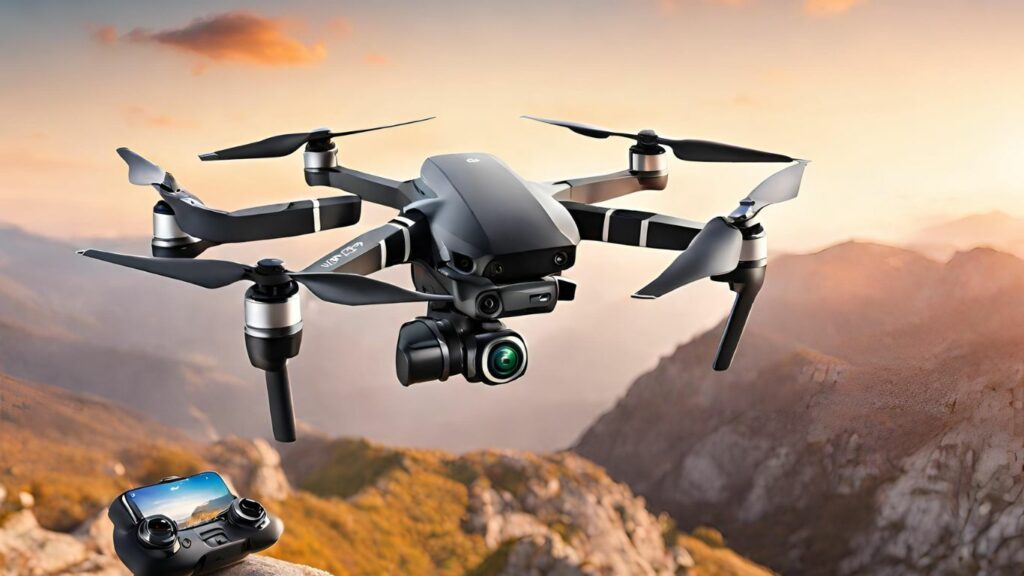
Selecting the right equipment is just as important as honing your skills. A high-quality drone with a top-notch camera can make all the difference. The DJI Mini 3 Pro and DJI Mavic 2 Pro, for instance, are favorites among photographers due to their advanced features and reliable performance. These drones come equipped with intelligent flight modes, obstacle avoidance systems, and high-resolution cameras, allowing you to capture stunning landscape shots effortlessly.
Camera Settings
How to Master Drone Landscape Photography: Camera Settings
In the rapidly evolving world of drone landscape photography, understanding your camera settings is paramount. Local laws and regulations always come first, but once you’ve got those down, it’s time to delve into the ins and outs of your drone’s camera. Whether you’re flying a DJI or Holy Stone drone, knowing how to adjust your camera settings is key to capturing breathtaking and correctly exposed images.
White Balance:
The white balance setting is essential for achieving accurate colors in your photos. It works by adjusting the color temperature based on the lighting conditions. Thus, you can select from presets such as sunny or cloudy, or go for custom settings as per the situation.
Understanding Shutter Speed:
Shutter speed is a cornerstone of photography that controls the duration your camera’s sensor is exposed to light. Playing around with different shutter speeds can lead to some interesting results. A faster shutter speed will freeze motion, while a slower one will introduce motion blur, adding an extra layer of dynamism to your shots.
Aperture Settings:
The aperture, or f-stop, controls the amount of light entering the camera. A wider aperture (lower f-stop number) allows more light in and creates a shallow depth of field effect. Conversely, a smaller aperture (higher f-stop number) lets in less light but increases the depth of field.
Neutral Density Filter:
In bright conditions, a neutral density (ND) filter can be a game-changer. This filter limits the amount of light entering the camera, helping to achieve balanced exposure. This is particularly helpful if you’re using slower shutter speeds or wider apertures.
Mastering ISO:
Finally, the ISO setting determines the camera’s sensitivity to light. A lower ISO setting keeps image quality high in well-lit environments, while a higher ISO setting can be useful in low-light situations, though it may introduce noise into the image.
In a nutshell, mastering these camera settings is a stepping stone to perfecting your drone photography skills. It might seem complicated at first, but with practice and experimentation, you can capture stunning landscapes from the sky. So, buckle up and get ready for your photography journey to take flight!
Shooting in Raw Format

Embracing the Power of Raw Photo Format
Photographers often choose to shoot in Raw format due to its extensive benefits in post-processing. This method gives them a superior level of control over exposure, color, and intricate details, a feature essential in landscape photography where lighting conditions are subject to frequent changes.
Raw format stands out from other file formats by preserving a larger amount of image data, thereby providing higher image quality and a wider range of editing possibilities. This method is a game-changer for drone camera photographers, enabling them to capture awe-inspiring aerial landscapes with excellent image quality.
One of the key benefits of the Raw format is the capacity to recover details in both highlights and shadows. This proves to be a powerful tool when handling high-contrast scenes or tricky lighting conditions. Raw format also permits modifications to white balance, saturation, and sharpness during post-processing, giving photographers full rein over the final image outcome.
Unleashing the Potential of HDR Mode with Raw Format
When photographers opt for HDR mode, which blends multiple exposures, Raw format ensures that each image in the bracketing sequence maintains its utmost image quality. The end result? A final image with an expanded dynamic range and vibrant colors that truly pop.
Correcting Distortions with Raw Format
Using wide-angle lenses on a drone camera can sometimes lead to barrel distortion. But worry not, with Raw format, photographers can correct this distortion during post-processing and produce top-quality images.
Reducing Vibrations with Raw Format
Sometimes, having a gimbal stabilization system on a drone camera can introduce minor vibrations or movements that may impact the image quality. Here again, Raw format comes to the rescue, providing the flexibility to reduce or even eradicate these undesired effects during post-processing.
As a renowned photographer once said, ‘In photography, there are no shortcuts to achieving great results. It’s all about the detail, precision, and relentless pursuit of perfection.’ With Raw format, photographers are truly armed with a powerful tool to chase that perfection and create stunning images that capture the soul of the scene.
Safety and Legal Considerations
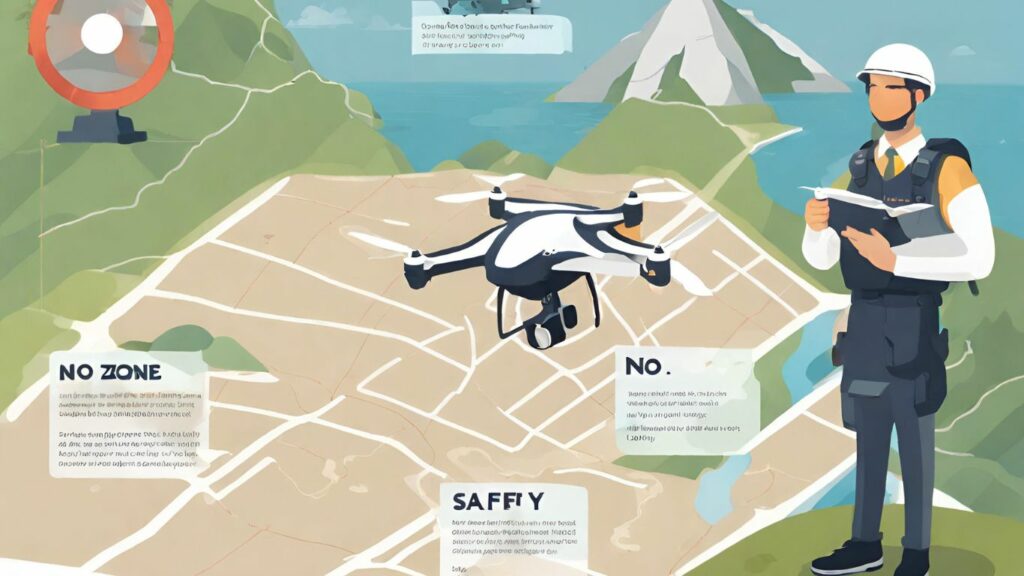
For an enjoyable and trouble-free adventure of drone photography, knowing and adhering to safety and legal requirements are a must. The advent of drone technology has taken landscape photography to new heights, literally. Yet, this freedom comes with some rules. Here’s a trio of crucial safety and legal points to remember:
- Following the rules: Knowing and adhering to drone flying rules in your locality is a must. Get well-acquainted with local laws on drone use, such as prohibited areas or height limitations. This way, you can prevent any legal problems and have a smooth drone photography session.
- Getting the right licenses and registrations: If you’re thinking of selling your drone photos or using them for business, having the right licenses and registrations is necessary. This helps you avoid legal issues. Make sure you find out the specific requirements in your region since these can differ.
- Flying safely and responsibly: Using a high-quality drone is a big responsibility. Prioritizing safety and responsible drone flying is key. This means steering clear of busy areas, keeping a safe distance from people and properties, and always having the drone in your view. By being careful and following safety rules, you can prevent accidents and legal issues.
‘Just like driving, drone flying comes with its own set of rules and responsibilities. Ignoring them not only risks legal trouble but also potential harm to people and property. So, fly smart, fly safe!’
Keep in mind these points for a safe and legalized drone photography experience. Happy flying!
Equipment Essentials
Essential Gear for Drone Landscape Photography
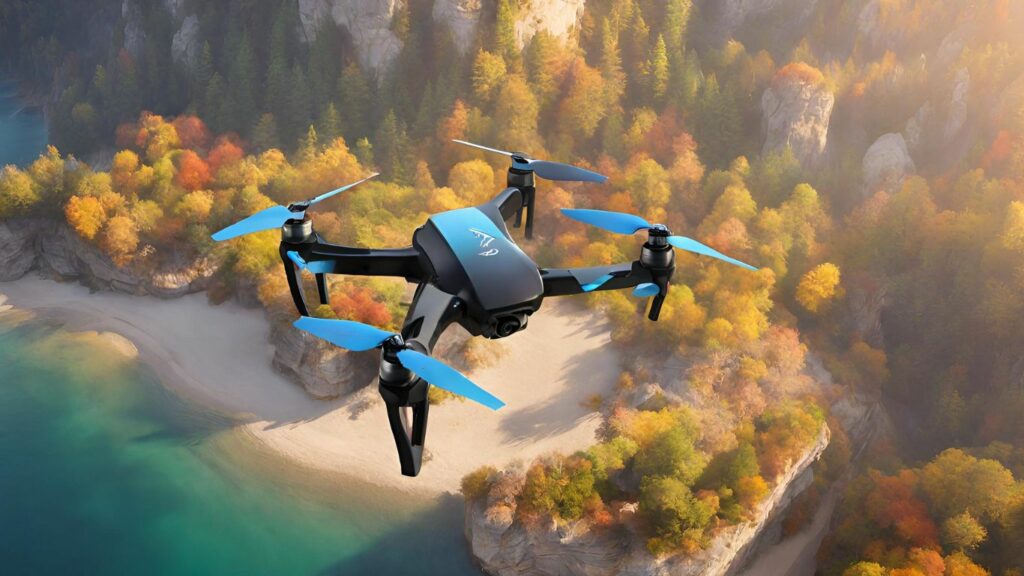
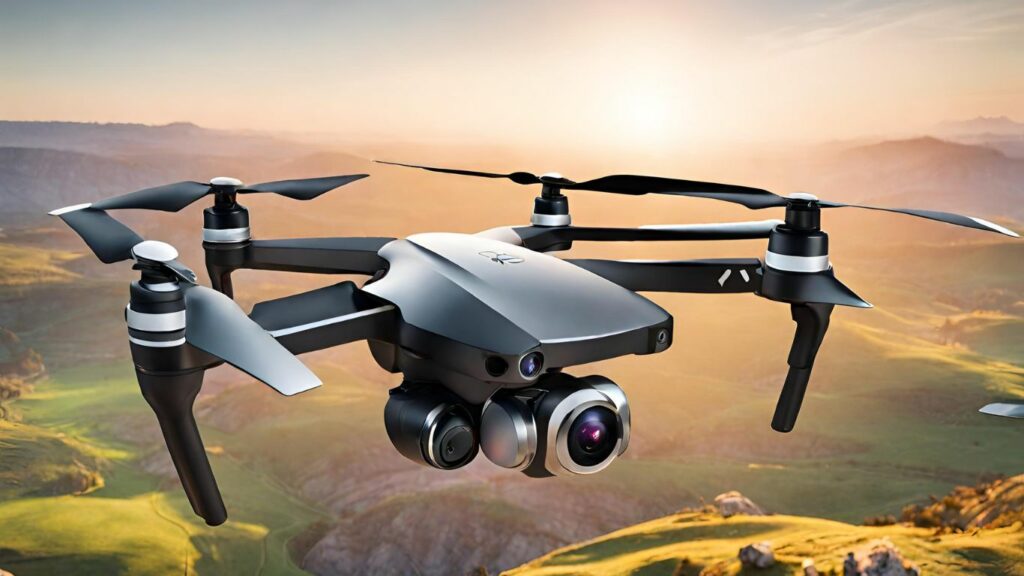
In the realm of drone landscape photography, having the proper gear is a critical factor in producing eye-catching images. Among the numerous options available, drones from Holy Stone have carved out a niche for themselves. They have earned a reputation for being dependable, boasting top-notch features that make drone handling a breeze and capturing awe-inspiring photos a straightforward task.
Specifically, the Holy Stone Mini 3 Pro, with its exceptional features such as wide-angle lenses, headless mode, and diverse control options, provides photographers with the flexibility to experiment with various angles and perspectives in their landscape photography.
To guarantee top-tier image quality and flexibility, choosing drones equipped with high-definition cameras capable of capturing crisp and detailed images is a wise move. Take into consideration drones that can record in 4K resolution and offer a range of shooting modes. This will give you the liberty to play around with various styles and compositions in your aerial landscape photography.
When considering a drone, features like GPS, trajectory flight control, and an auto-return function should be on your checklist. Not only do these features ensure accuracy in aerial photography, but they also guarantee the safety of your drone and its surroundings.
Moreover, drones with robust motors, extended battery life, and advanced obstacle detection provide smooth and secure flights, enabling you to concentrate on snapping breathtaking landscape photos without fretting about technical difficulties.
“We’ve always believed that the right equipment makes all the difference. The Holy Stone drones provide just that – a blend of reliability, advanced features, and ease of use that makes capturing stunning landscape photos a truly enjoyable experience,” – John L. Smith, an experienced drone photographer.
Frequently Asked Questions
What Are the Best Settings for Drone Photography?
Are you looking for the most effective settings for drone photography? Well, you’re in the right place. Drone photography requires a certain skill set and a unique approach compared to traditional photography.
To take top-quality aerial photos, it’s crucial to tweak the exposure settings. Exposure settings play a key role in determining how light or dark an image will turn out.
In addition, mastering composition techniques is a must. These techniques can help you frame your shots perfectly, ensuring your photos are aesthetically pleasing.
Focus control is another significant factor. A good focus can make the difference between a blurry image and a crystal-clear shot.
Proper white balance settings are also vital. They can dramatically affect the color accuracy of your photos, thereby affecting their overall mood and feel.
Next, you need to pay attention to the aperture setting. The right aperture can bring a whole new dimension to your photos, affecting their sharpness and depth of field.
Filters can also be a game-changer in drone photography. They can help manage reflections and glare, and also enhance colors in certain lighting conditions.
Taking into account the lighting conditions is a no-brainer. Good lighting can make your photos pop and bring out the best in your shots.
Post-processing is the final step in the process. With the right tips and tricks, you can improve your shots, correct any mistakes, and add a touch of creativity.
Manual mode gives you the most control over your drone’s camera settings. It allows you to tweak each setting to your liking, resulting in the best possible shot.
Finally, remember to use stabilization techniques. These will ensure your drone stays steady during the shot, resulting in crisp and clear images.
All these settings and techniques can help you capture stunning and well-balanced aerial shots. They give you the flexibility to bring out the best in your images during post-processing.
How Can I Make My Drone Shots Look Better?
Want to enhance the visual appeal of your drone shots? Here’s a rundown of some simple yet effective methods to consider.
First off, pay attention to your composition. The use of leading lines and foreground elements can add depth and interest to your images. It’s a simple way to guide the viewer’s eye and create a more engaging photo.
Next, consider the timing of your shots. Capturing drone images during the golden hour, when the sunlight is soft and warm, can dramatically improve the mood and atmosphere of your shots. Moreover, innovative framing can help you capture unique perspectives.
When it comes to editing, small adjustments can make a big difference. Tweaking the white balance and exposure can help you achieve the look you’re aiming for.
Lastly, don’t be afraid to experiment. Try out different drone angles, capture movement, use filters, and learn how to adjust exposure. These techniques can help you create visually stunning drone shots that stand out.
Remember, the key to improving your drone photography lies in practice and constant learning. So, go ahead and try these techniques, observe the changes, and keep refining your skills.
‘Even the most cinematic drone shot is made up of simple techniques combined in a creative way, so don’t be afraid to experiment.’
What Is the Best ISO Setting for a Drone?
Choosing the right ISO setting for a drone is not a one-size-fits-all situation. It largely hinges on the lighting conditions and the kind of exposure you want to achieve. When you’re operating your drone in a well-lit setting, going for the lowest native ISO, for example, ISO 100, is a wise move. This helps to preserve the quality of your image and minimize any noise.
However, when dealing with low light, you might need to crank up the ISO settings a bit. Options within the range of ISO 400-800 may come in handy, although they might add some digital noise to your shots.
The key lies in trial and error. You’ll need to play around with different ISO settings until you strike an ideal balance between image brightness and quality. This is not just about getting a good shot; it’s about understanding your drone’s capabilities and making the most of them.
Remember, photography is a blend of science and art. The ISO setting is just one of many tools at your disposal. Use it wisely and your drone shots will not only capture moments, but they’ll also tell compelling stories.
‘Photography is the story I fail to put into words.’ – Destin Sparks.
Making smart choices with your ISO settings can help you tell those stories more effectively.
In the fast-paced world of drone photography, staying up-to-date with the latest techniques and equipment is vital. Because when it comes to capturing the perfect shot, every detail matters.
What Shutter Speed for Drone Photography?
In the realm of drone photography, your choice of shutter speed is a vital factor in crafting artistic compositions, recording motion, and leveraging long exposure techniques. For those aiming to achieve slower shutter speeds for creative effects, it’s advisable to utilize ND filters.
Also, considering shooting during the golden hour could elevate the overall quality of your images. Other essential factors for impressive drone landscape photography include appropriate framing and perspective, tips on post-processing, adding depth to your shots, balancing exposure and contrast, and amplifying colors during post-production.
In today’s fast-paced digital world, the importance of shutter speed in drone photography cannot be overstated. It’s the key to unlocking creative effects and capturing stunning images. For instance, a slower shutter speed, achieved using ND filters, can create a blur effect for moving objects, adding an artistic touch to your photos.
Shooting during the ‘golden hour’ – the hour after sunrise or before sunset – is another effective technique. This can result in images with warm hues and softer shadows, offering a unique and beautiful perspective.
Other elements to consider for high-quality drone landscape photography include the composition of your shots, post-processing techniques, and adding depth. Ensuring correct exposure and contrast, as well as amplifying colors in post-production, can also greatly improve your images.
Remember, drone photography is not just about the technology, but also the artistry and creativity you bring to it. So, don’t be afraid to experiment with different shutter speeds, filters, and shooting times to discover what works best for you. Happy shooting!
‘In drone photography, your shutter speed is not just a setting, it’s your creative tool. Learn to master it and watch your images come to life in ways you never thought possible.’
Conclusion
Perfecting drone landscape photography doesn’t happen overnight. It necessitates a blend of trial and error, persistence, and meticulousness. Applying the advice offered in this write-up, such as strategizing your shots, fine-tuning camera settings, clicking in raw format, and being mindful of safety and legal considerations, will aid you in producing breathtaking aerial photos.
Don’t forget to refine your images to augment their aesthetic appeal and circulate your work to motivate others and flaunt your skills.
In the age of technological advancements, drone photography has gained significant popularity. It’s not just about capturing a photo; it’s about capturing a perspective that’s impossible to see with the naked eye. This new perspective can bring a fresh take on common landscapes, making your work stand out.
The importance of planning your shots cannot be overstated. Knowing what you want your final image to look like can help guide your drone movements and camera settings. For instance, if you’re looking for a serene sunrise shot, you’ll need to ensure you’re in the right place at the right time with the correct settings.
Shooting in raw format is another key factor. This allows you to capture all the details and colors in your shot, giving you more flexibility when it comes to editing post-shoot. It’s similar to a painter having a wider range of colors on their palette.
Safety and legal aspects are also crucial. Always ensure you’re flying your drone responsibly, respecting local regulations and privacy laws. The last thing you want is for your photography session to lead to legal trouble or harm to others.
Lastly, don’t forget to edit your photos. Editing is what can turn a good photo into a great one. It allows you to adjust the lighting, contrast, and colors to really make your image pop. Once you’re satisfied with your masterpiece, share it with others. Not only will this inspire fellow photographers, but it also provides a platform for you to showcase your talent.
So, get your Holy Stone Drone ready and start capturing the world from a new perspective. Remember, ‘The best photographer is the one who enjoys the process of creating, not just the final product.’ Happy flying!
Related posts:
 Fader Quadcopter: Detailed Review and Evaluation Of High Flying Thrills
 Can a Drone Be Flown Over Private Property: Legal or Illegal? Discover the Shocking Facts!
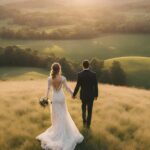 Magic of Drone Wedding Photography: The Sky-High Trend Shaking Up Traditional Wedding Albums
 Is a Drone Worth It? Unveiling the True Worth of Drones